This guide will allow you to enjoy your favorite vegetables year after year.
Saving seeds from your garden is easier than it sounds and comes with many benefits. Although you may be able to purchase seeds each year, saving and replanting your garden seed can increase crop flavor, preserve heirloom varieties and promote genetic diversity. Not to mention, some varieties of vegetable seeds may not always be readily available.
Simply, if you have a crop variety you love and want to grow again (and again), saving seeds means you’ll have full access to your garden favorites without the risk of seed shortage. Whether it’s a beautiful blue-ish gray Jarrahdale pumpkin or the juiciest Brandy Wine tomato you’ve ever tasted, saving seeds is key to enjoying crops year after year – and quite possibly for generations to come. Plus, you’ll save time and money each planting season.
With that, here’s what you need to know about the ancient art of seed saving.

Barbara Rich/Getty Images
What Types of Seeds Should You Choose for the Best Results?
If you want to save seeds this year, when purchasing seed packets, opt for heirloom varieties, open-pollinated or non-GMO seeds. This will ensure you receive the highest quality seeds with stable genetics. This means, when you purchase one packet of seeds, it will be the last you’ll ever need to buy. (If you seed save, of course.) This information is usually printed directly on seed packets.
Heirloom seeds are older varieties (always non-GMO which means they haven’t had their DNA changed artificially) that have been passed from generation to generation. These seeds will grow “true to type,” meaning the seeds from that one plant will produce a plant that is the same as the parent plant, with no changes in subsequent crops.
Open-pollinated seeds denote that the plant is pollinated naturally, such as via bees, birds, insects, wind and rain, and can produce seeds after pollination.
Be sure to save your seed packets as they include valuable information such as planting instructions, light requirements, and days to germination.

PaulMaguire/Getty Images
How To Choose the Best Plant in Your Garden for Seed Saving
For the best seed selection from your garden, always pick plants that look the best. Inspect the plants thoroughly, and choose ones that are disease- and pest-resistant. They’re usually accompanied with vibrant coloring, productivity and of course, delicious flavors. Saving these seeds means you will get the exact same plant, if not better, next planting season.
How to Save Seeds
Now that you’re equipped with what seed packets to purchase and how to choose the best plants for seed saving, let’s dive into how to save the seeds of some of the most commonly planted crops. Note that it’s best to dry your seeds on a screen, which allows for better airflow; but if you don’t have one, you can dry them on a plate or paper towel. If you’re working with the latter, be sure to flip your seeds daily to ensure proper drying coverage.
Peas and Beans: Allow the peas and beans pods to ripen on their vines until they are fully dry and turning brown. (This time frame is roughly a month after your normal harvesting time). Lightly shake the pods, and you should hear rattling inside – this means they are dry. Strip the pods from their vines, bring them indoors and lay them out on the kitchen counter to dry some more. The pods should dry indoors for two weeks. After two weeks, you can either remove the seeds from inside the pod, or you can leave the seeds inside the pods until it’s time to plant.
Lettuce: Wait until your lettuce plant bolts before harvesting. When your lettuce plant bolts, it will send up a “stalk” with seed pods that flower. When the flowers have bloomed and are dry and brittle this is the time to harvest for seed collection. To harvest seeds, gently pick off seed pods by hand or cut the lettuce plant at the base and shake off seeds onto a tray for bulk seed saving. Place the pods or seeds in a paper bag and save them until next season.
Peppers: Allow the peppers to fully ripen on the plant before you harvest for seed saving. Harvest peppers with clean pruning shears and bring them into a clean workspace such as your kitchen. Carefully cut the peppers open and scrape the seeds out with a spoon (or knife) into a bowl or small strainer. Rinse the pepper seeds with water to remove any leftover pulp. After rinsing, lay the seeds on a screen, paper towel, coffee filter or plate. Place the seeds in a dry spot with good air ventilation, and out of direct sunlight for one week. Turn over or shuffle the seeds around every day to ensure both sides of the seeds are receiving proper airflow. After a week, test your seeds by breaking one seed in half. If the seed is brittle and snaps neatly in half, they are ready for storage.
Always wear gloves when removing the seeds from hot pepper plants as the heat can cause skin irritation, and of course, try not to touch your face when processing.
Squash, Pumpkins and Zucchini: Cut your mature pumpkin or squash straight down the center. With a large spoon, scoop out the guts and place them into a large colander. Place the colander under your kitchen faucet and allow the water to run over the guts while gently washing and separating the seeds from the gut material. Place the clean seeds on a paper towel on the kitchen countertop, spreading them out so they are not touching one another. You can place the seeds on any flat surface, as long as they are in a place where they will not get wet. Allow the seeds to fully dry out (turning them daily) for about seven to 10 days.
Cucumbers: When cucumbers turn orange or dark yellow that’s a good sign they have matured with viable seeds. This is the right time to harvest. Harvest the cucumber and place it on a cutting board. Shallow cut the cucumber lengthwise making sure you don’t cut completely through the vegetable. Gently open the cucumber and with a spoon carefully scrape out the seeds. There is a gelatinous coating on the seeds; place them in a strainer and rinse them thoroughly to remove this coating. Once the seeds are clean, spread the seeds on a screen, paper towel or plate. Dry them in a cool dry place for one to two weeks, turning them daily if they aren’t placed on a screen.
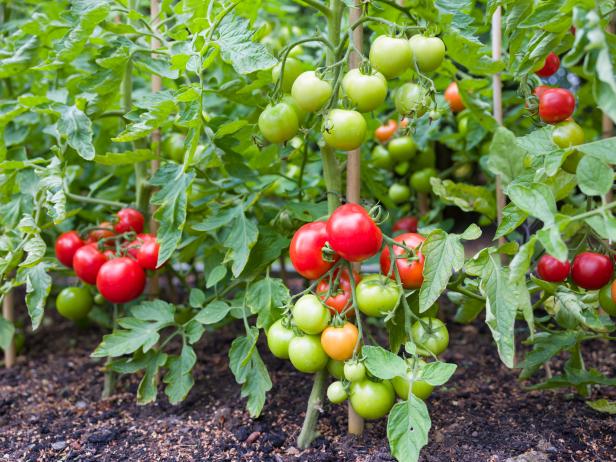
Tomatoes: After choosing a fully ripe tomato, slice the tomato in half so the stem end is on one side and the blossom end is on the other. Next, begin the fermentation process. To a mason jar, add one cup of water along with your tomato seeds (and pulp) and place in a warm spot for two to four days. Cover the top of the jar with cheesecloth as it helps to keep bugs out. As it ferments, the mixture may smell bad (so, store it in a place where you won’t be smelling it much). Check on the fermentation process daily, and look for a layer of mold on top of the seeds and pulp. The fermentation process is complete when you see bubbles start to rise from the mixture, or when the entire layer of tomato pulp is covered in mold. The seeds will settle to the bottom of the jar in a watery liquid.
Strain the mixture into a colander, and rinse the seeds well under running water. Finally, place the clean seeds on a screen, paper towel or plate and allow them to dry in a cool dry place for one to two weeks; then store.
How to Store Seeds Properly
It’s best to store seeds in paper seed envelopes, which allow the seeds to “breathe” and let moisture escape rather than build up. Be sure to label your storage containers and packets with the name, seed variety and date stored. This will ensure you can identify seed varieties and plant according to the date.
Store your seeds in a cool, dry place and out of direct sunlight in paper seed envelope bags or in a glass airtight container. The seeds should be kept between 35 to 50 degrees Fahrenheit; the refrigerator will work well if you don’t have a root cellar or a cooler room for storage.

